 Skip to content
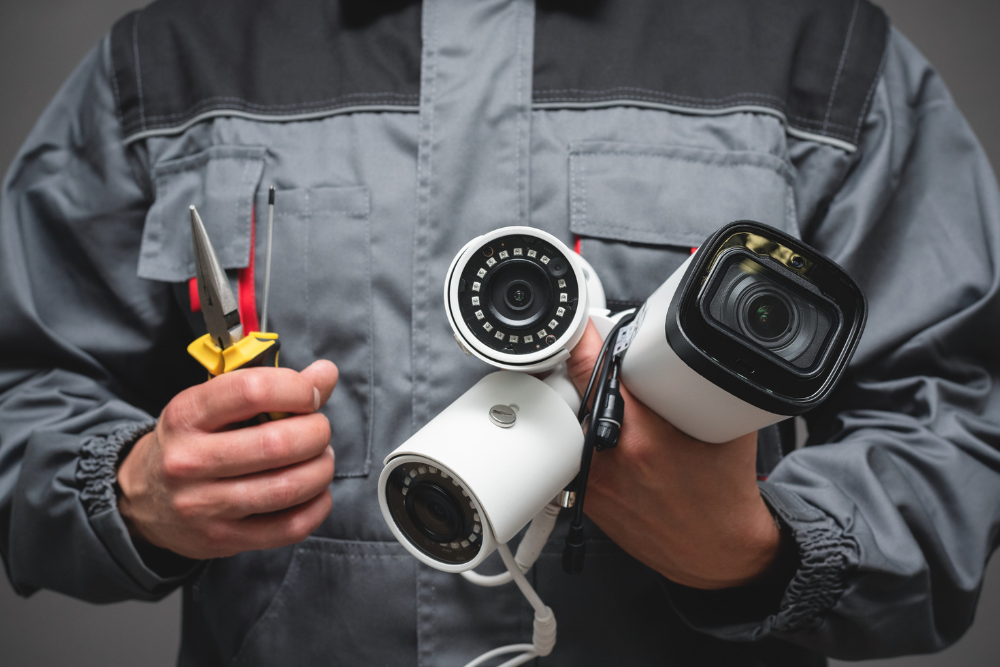
Enhancing home security is a priority for many homeowners today. Wireless security cameras provide an affordable DIY approach to monitoring your property inside and out.
This guide covers everything you need to research, plan, and install your own wireless home security camera system. Follow these steps to gain peace of mind knowing your home is protected.
Understanding and Benefits of Wireless Security Cameras
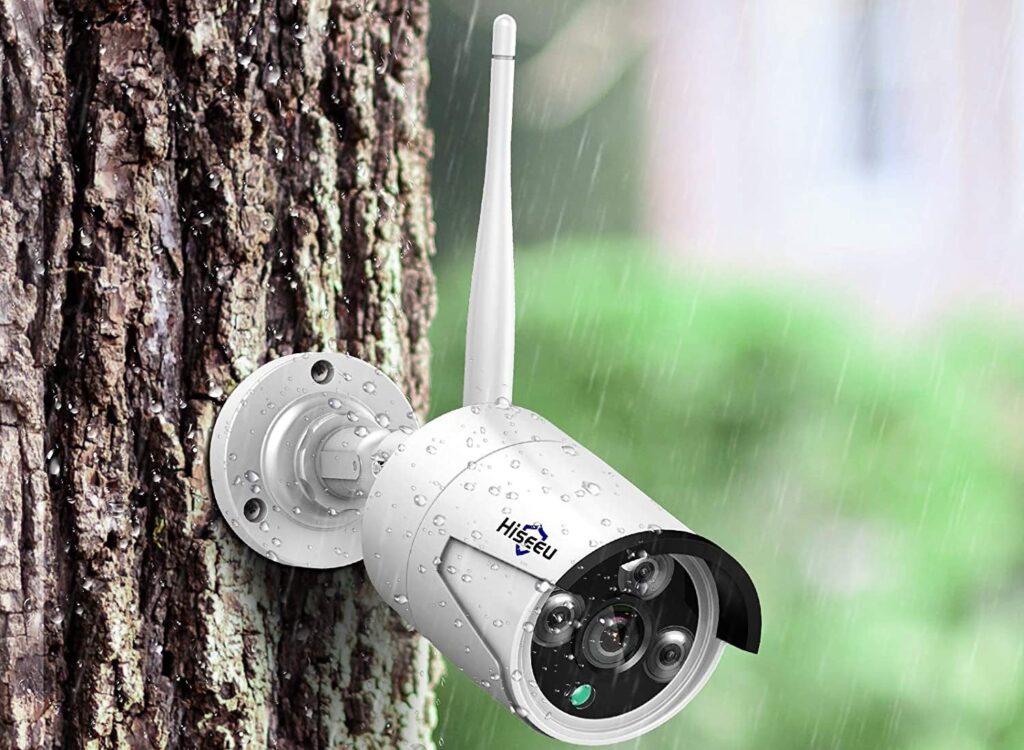
Wireless security cameras transmit video footage to a receiver through a WiFi or cellular connection instead of cables. Popular DIY options like Arlo, Ring, and Eufy offer wireless camera systems with these advantages:
- Flexible placement: Cameras can be positioned anywhere within range of the wireless receiver. No cables to run.
- Scalable coverage: Easily increase cameras without complex wiring. Start small and expand over time.
- Portability: Move cameras as needed. For example, monitoring kids in different rooms.
- Cost savings: Avoid expensive professional installation and wiring costs.
- Convenience: Wireless systems are quick and easy for DIY installation.
With wireless capabilities and smart features like motion detection, you can monitor both indoor and outdoor areas without breaking the bank.
Planning Your Wireless Security Camera System
Careful planning ensures you select the right system and cameras for full home coverage:
Assess Home Security Needs
Walk around your home and make note of:
- Entry points like doors and windows needing monitoring.
- High-value areas like garages and backyards.
- Spots with past security issues or privacy concerns.
This helps determine ideal camera placement.
Calculate Number of Cameras
Typical homes may need:
- 2-3 outdoor cameras covering front door, backdoor, yard.
- 1 camera per level inside overlooking staircases, hallways, living spaces.
Scale up if securing a larger property.
Select Wireless Security Camera System
DIY systems consist of cameras and a wireless NVR (network video recorder) hub for transmitting footage.
Compare models like:
Here is a table with the information for the cameras:
| Brand | Model Name | Connectivity Technology | Special Feature | Indoor/Outdoor Use | Video Camera Resolution | Field Of View | Night Vision |
|---|---|---|---|---|---|---|---|
| Zmodo | 1080p Full HD Outdoor Wireless Security Camera System | Wireless | Night Vision | Indoor and Outdoor | 1080p | Not specified | Yes |
| WYZE | Cam OG 1080p HD Wi-Fi Security Camera | Wireless | Color Night Vision | Indoor and Outdoor | 1080p | Not specified | Yes |
| TP-Link | ColorPro Wi-Fi Outdoor Camera | Wi-Fi | Daylight Clarity at Night | Indoor and Outdoor | 2K QHD | 127° FOV | Not specified |
| Zmodo | 1080p Full HD Outdoor Wireless Security Camera System | Wireless | Night Vision | Indoor and Outdoor | 1080p | 96° | Yes |
| TP-Link | Tapo ColorPro Outdoor Security Camera | Not specified | ColorPro night vision | Outdoor | Not specified | Not specified | Yes |
| Lorex | 2K Spotlight Indoor/Outdoor Wi-Fi Security Camera | Wireless | HDR | Indoor and Outdoor | 2K | Not specified | Not specified |
Please note that the prices and availability may vary. It is recommended to visit the provided Amazon links for the most up-to-date information on pricing and purchasing options.
Safety Precautions
Exercise caution when installing security cameras yourself:
- Use a ladder safely or get help positioning high cameras.
- Power down equipment and avoid wiring during storms.
- Do not place cameras in areas violating others’ reasonable privacy expectations.
- Secure stored video recordings, especially from indoor cameras.
Take reasonable safety measures for a secure installation. Now let’s cover the tools and equipment needed.
Gathering the Necessary Tools and Equipment
These tools and items will be handy for installation:
- Cordless drill for securing camera mounts
- Masonry drill bits if drilling into brick/concrete
- Screwdriver for wall anchors and mount screws
- Measuring tape for spacing and height
- Pencil for marking drill holes
- Ladder for elevated mounting
- Zip ties for organizing cables
Equipment needed:
- Wireless security camera system kit
- microSD card for local storage if no cloud plan
- Spare rechargeable batteries for battery-powered cameras
Now with your tools gathered, it’s time to install your new wireless security cameras.
Step-by-Step Guide to Installing Your Wireless Security Cameras
Follow this process to properly set up your cameras:
Choose Camera Locations
Mark the ideal mounting spot based on field of view and power source proximity. Ensure the wireless receiver hub can pick up the signal.
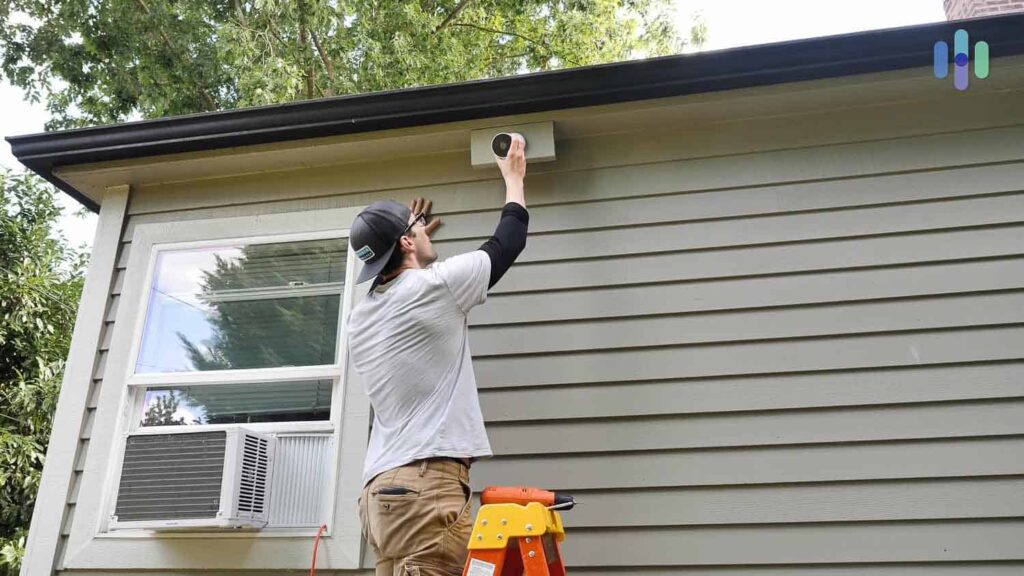
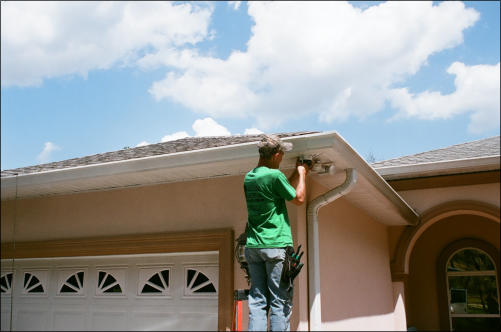
Mount the Wireless Cameras
Using provided screws or adhesive, install each camera pointed at the intended area. Adjustable mounts make positioning easier.
Connect Cameras to Power Source
For battery-powered cameras, insert the rechargeable battery. For wired power, connect the cable observing polarity.
Connect Cameras to Wireless Receiver
Initiate the pairing/sync process to link cameras to the wireless receiver hub according to manufacturer instructions.
Configure Camera Settings
In the system app, adjust settings like resolution, night vision mode, motion zones and alerts for each connected camera.
Test the Wireless Security Camera System
Verify system functionality by intentionally triggering motion alerts and inspecting video feeds in the app interface. Refine settings until optimal.
With cameras transmitting wirelessly to the central hub, now it’s time for remote access and recording.
Setting Up Remote Access and Monitoring
A key benefit of wireless security cameras is accessing footage remotely.
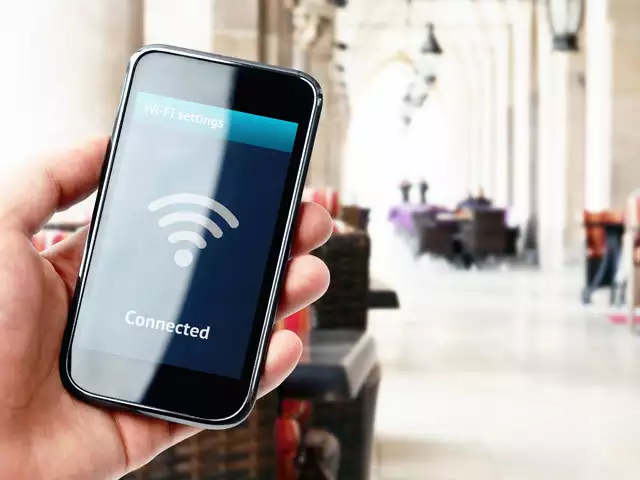
Connect the Receiver Hub to WiFi
Connect the wireless receiver base station to your home WiFi router using the Ethernet port for connectivity.
Enable Remote Access
In the system app, sign into your account and enable remote access to view the video feed anywhere.
Configure Activity Alerts
Set up mobile push notifications and email alerts to be notified when camera motion or sound is detected.
Recording and Playback
Continuous recording options include local storage on microSD cards or cloud plans. Check that playback works seamlessly.
With remote access properly enabled, you can monitor your home security system from anywhere.
Troubleshooting Common Wireless Security Camera Installation Issues
If issues arise, try these tips to troubleshoot:
Connectivity problems:
- Relocate the camera closer to the wireless hub for improved signal.
- Remove obstructions between the camera and hub hindering the signal.
- For outdoor cameras, point antennas upward for best reception.
False motion alerts:
- Adjust motion sensor sensitivity, exclusion zones or camera field of view.
- Move camera farther away from high motion areas like trees.
Battery life problems:
- Ensure batteries are fully charged. Swap in fresh spares.
- Check for possible damage if batteries discharge quickly.
Blurry image quality:
- Clean debris from camera lens using microfiber cloth.
- Improve lighting conditions in dark camera fields of view.
App connectivity issues:
- Reinstall the latest app version.
- Reboot the wireless receiver hub and reconnect devices.
Still experience problems? Contact the security camera company’s customer support. Now let’s look at maintaining your system.
Maintaining and Upgrading Your Wireless Security Camera System
Like any technology, maintaining your wireless security system preserves performance.
- Keep cameras clean and debris-free for best video quality.
- Check for camera firmware updates in the app and apply when available.
- Replace spent camera batteries promptly for continuous power.
- Periodically reformat the microSD card to avoid data corruption.
- Adjust camera positions if modifications affect the field of view.
For upgrades, consider:
- Adding wireless repeaters to strengthen signal range and reach.
- Expanding capacity with additional wireless cameras.
- Upgrading cloud storage for more recording history.
Proper maintenance and expansion over time maximizes your investment in wireless home security.
Popular Wireless Security Camera System Brands and Products
When selecting a wireless security camera system, top reviewed DIY brands include:
Ring – Offers battery-powered outdoor cameras with motion-activated HD video. Integrates with Ring’s full security ecosystem.
Arlo – Known for weatherproof wireless cameras with apps, storage, and smart alerts. High-end Pro 4 series streams sharp 4K video.
Eufy – Budget-friendly systems with local storage and AI detection without monthly fees. Lacks professional monitoring option.
Lorex – Features a range of wireless cameras and NVR bundles for robust permanent installations.
Compare products, pricing, and features between wireless security camera brands to find the right fit.
Conclusion
Installing wireless security cameras is an approachable DIY project that delivers round-the-clock home monitoring. Position cameras thoughtfully, follow installation best practices, and properly configure remote access. The result is enhanced property security with the flexibility of wireless systems.
Looking to install your own wireless security system? Get in touch for a personalized quote catered to your home’s unique needs. Our security experts are happy to help you choose the ideal equipment and provide guidance to maximize protection.
Let us know if you have any other questions! We’re here to help you upgrade home security with confidence.
